Jenkins
![]()
Jenkins is an automation server. It is geared towards building and deploying software projects. The key theme is CI / CD: continuous integration and continuous delivery.
Jenkins is free and open source. This means that it is not only a lower cost solution but it is flexible and gives you options. It is incredibly popular and can pretty much be thought of as industry standard.
Jenkins is servlet based and runs in servlet containers like JBoss and Tomcat. It can also be run as a standalone application. You can install it practically anywhere you want from huge servers to a tiny laptop. It runs on Linux, OSX, BSD, Solaris, and even Windows. You can download it as a platform specific package or just grab the war file and run it directly. It also runs on Docker which is an excellent way of getting it up and running fast.
One issue I’ve run into is that it can be a bit picky about which Java version you are using. So long as you have the right version of Java, you can run it on just about whatever platform you want though.
Jenkins supports source control such as Git, CVS, and more.
Jenkins Install and Setup
Here we show an example of how we install and setup Jenkins on Ubuntu Linux ( 18.04.3 ).
Install and Run Jenkins
First install Java:
sudo apt install openjdk-8-jre-headless
Next, pull down the latest Jenkins war file.
wget http://mirrors.jenkins.io/war/latest/jenkins.war
Finally, launch the war file:
java -jar jenkins.war
On first startup Jenkins creates an admin user and initial password. The initial password will be output on the console. You can also find it here:
/home/user1/.jenkins/secrets/initialAdminPassword
You can reach the Jenkins web UI by going to port 8080 on your server. If you are connecting to Jenkins on the same system that it is running on ( ex: your laptop ) you can just use the IP for localhost: 127.0.0.1. So you would go to the URL http://127.0.0.1:8080/ using your web browser.
Initial Setup ( From The GUI )
When you initially connect to the Web UI you will need to go through the initial setup.
Go here: http://127.0.0.1:8080/
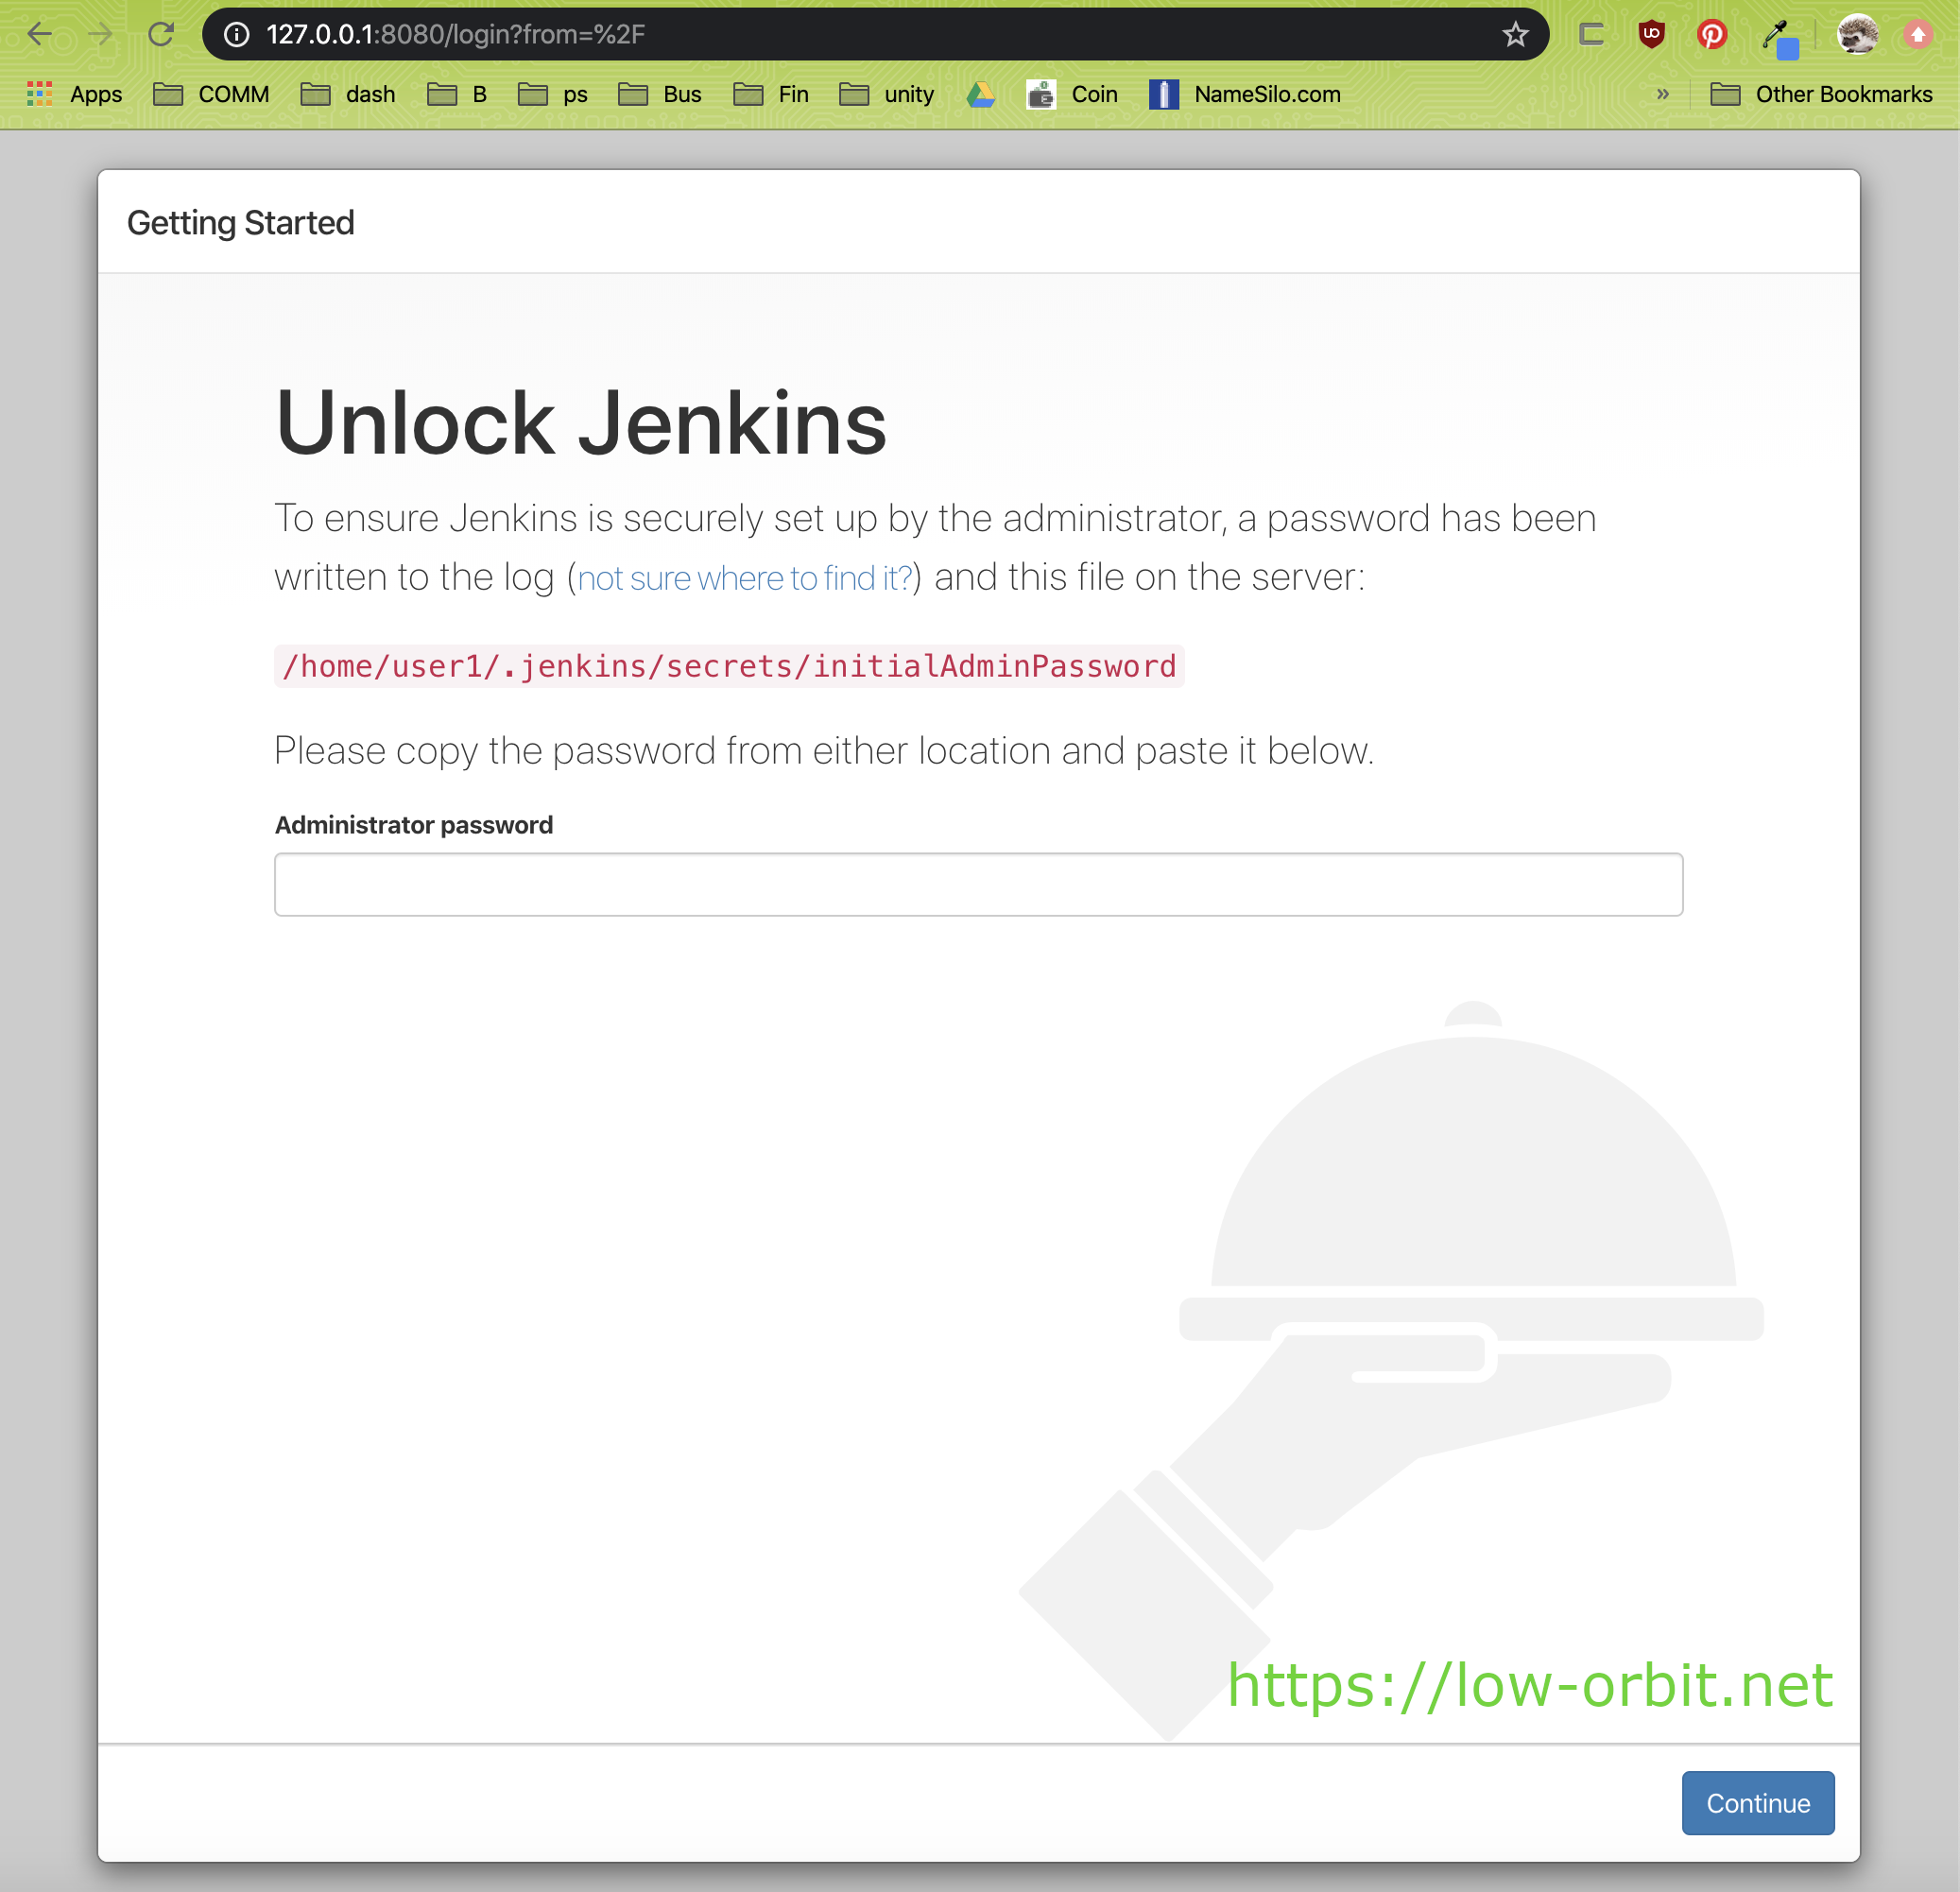
Unlock Jenkins - Password
Paste in the initial password from the installation steps above. You can find it here:
/home/user1/.jenkins/secrets/initialAdminPassword
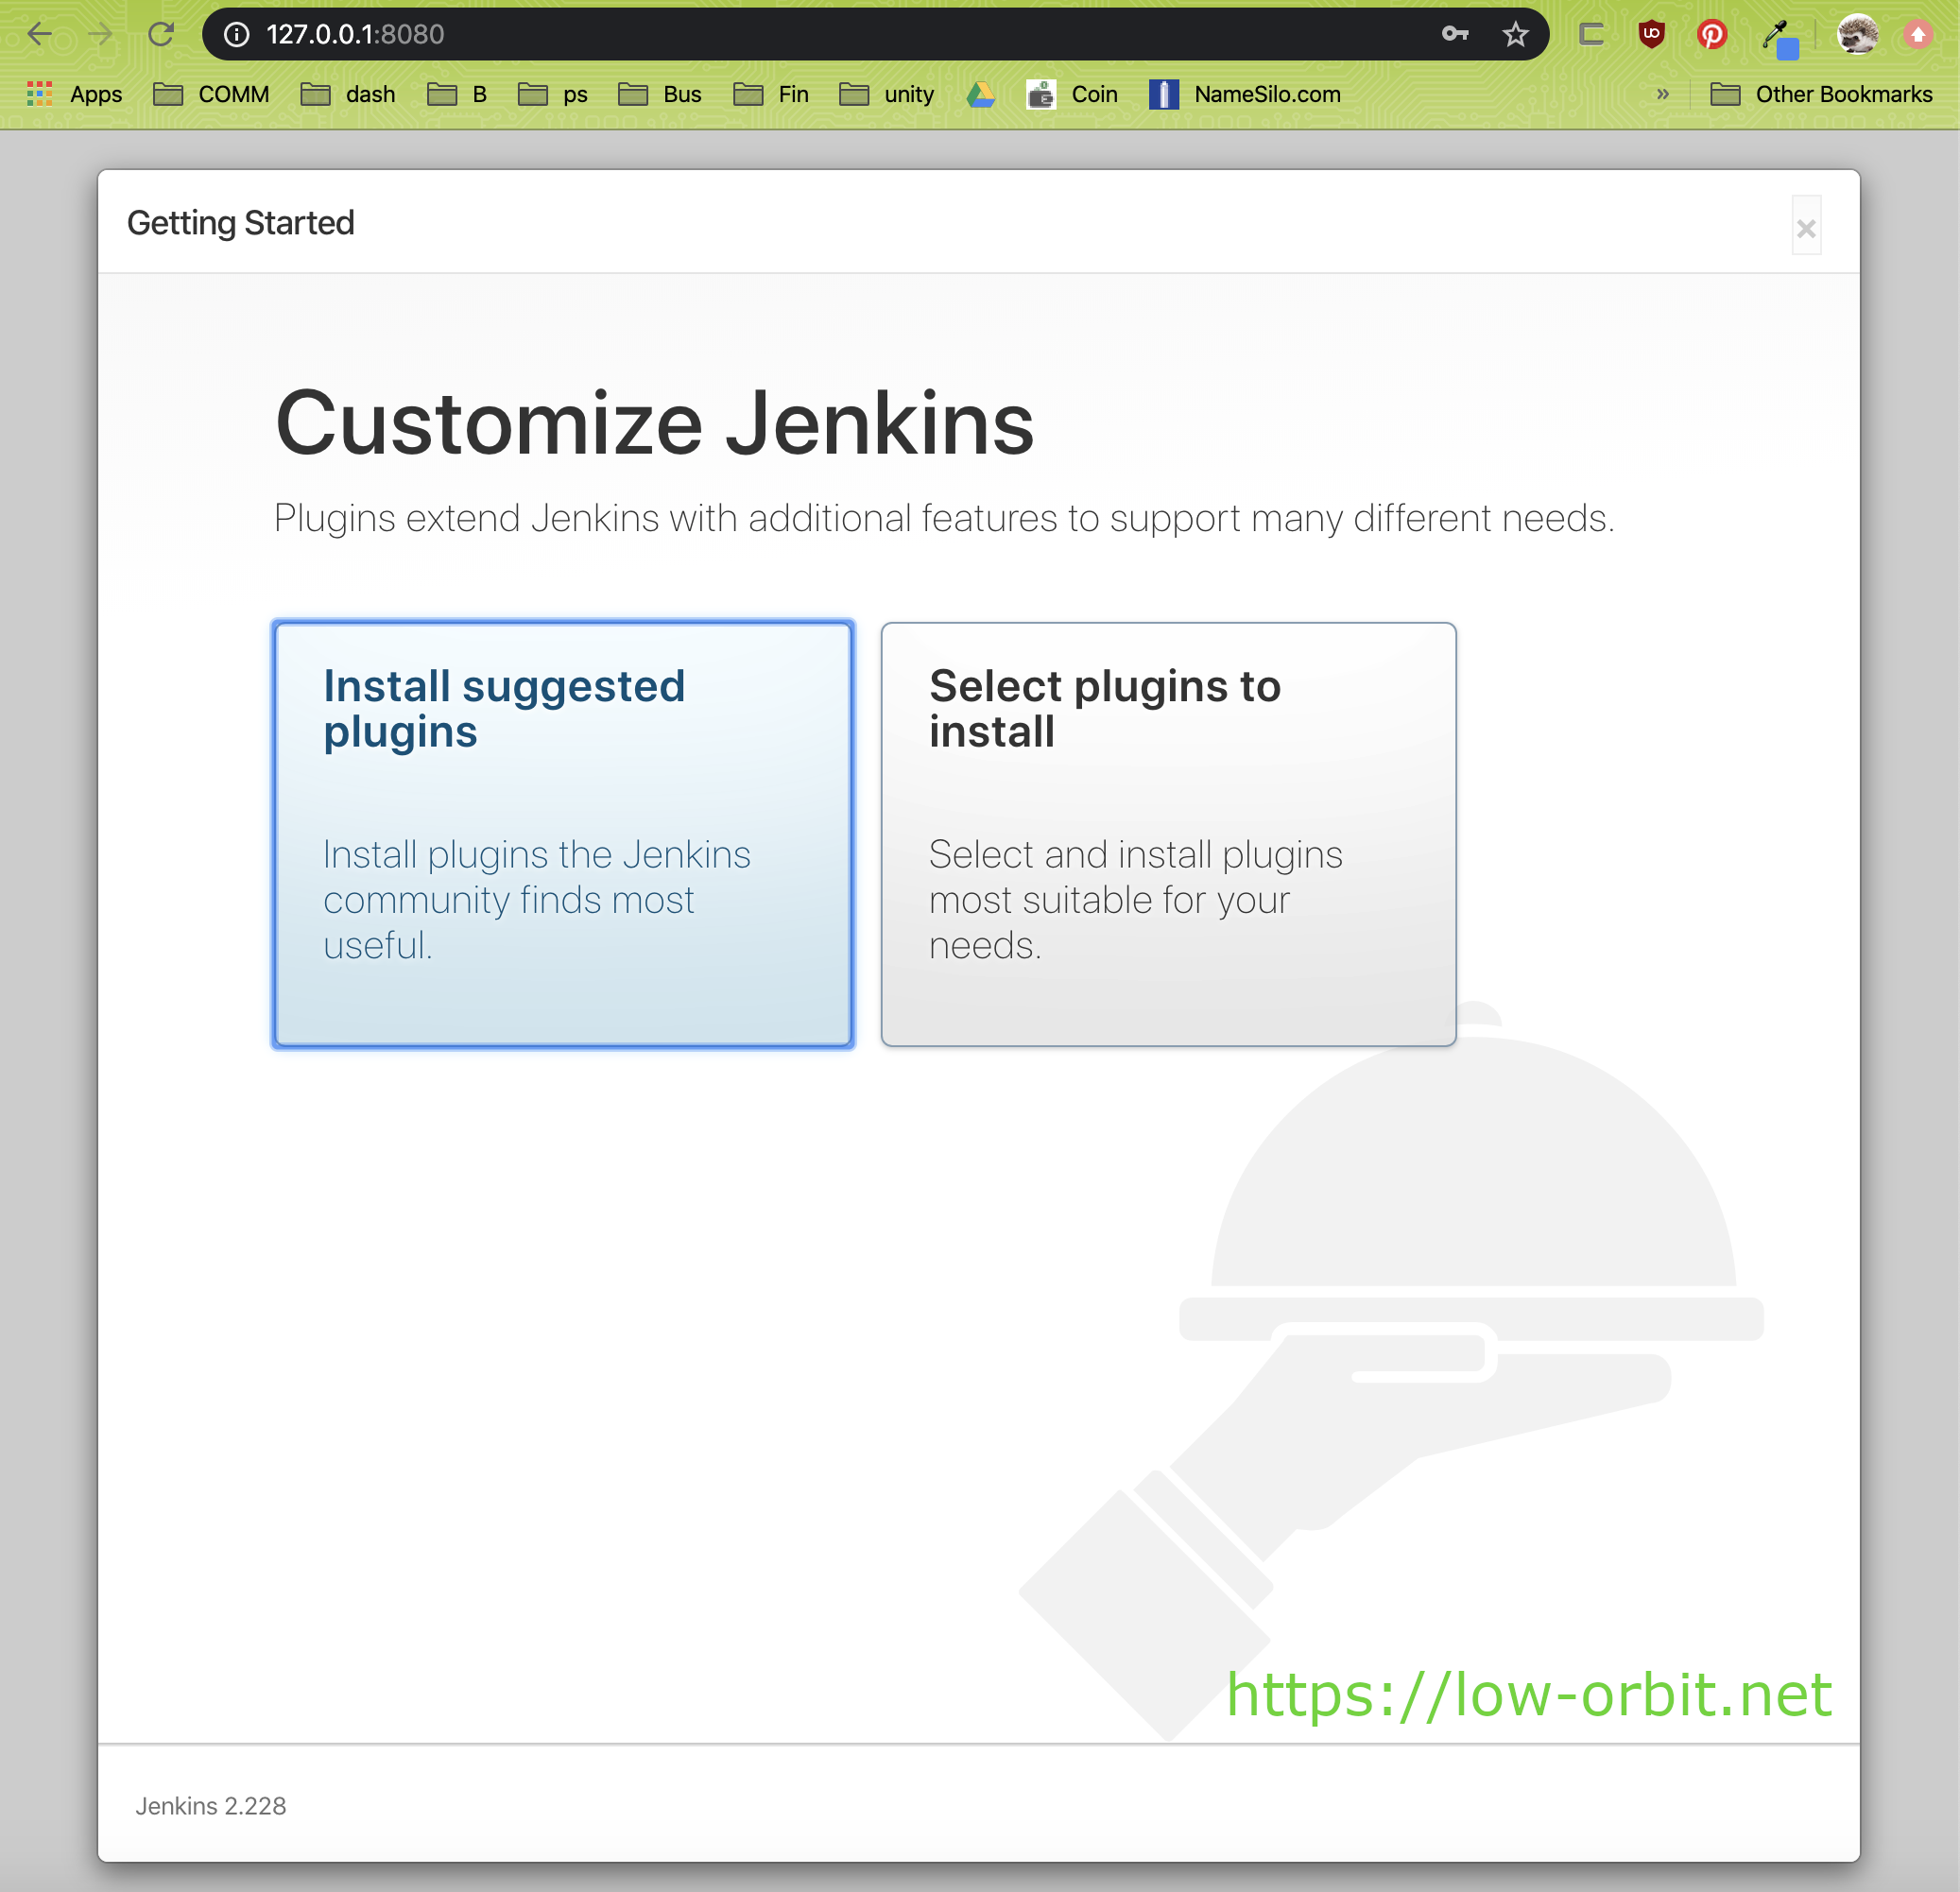
Customize Jenkins
The first decision you will need to make is on the customize Jenkins screen. Here you have two options:
- Install suggested plugins
- Select plugins to install
I just went with “Install suggested plugins” but you can customize them if you want.
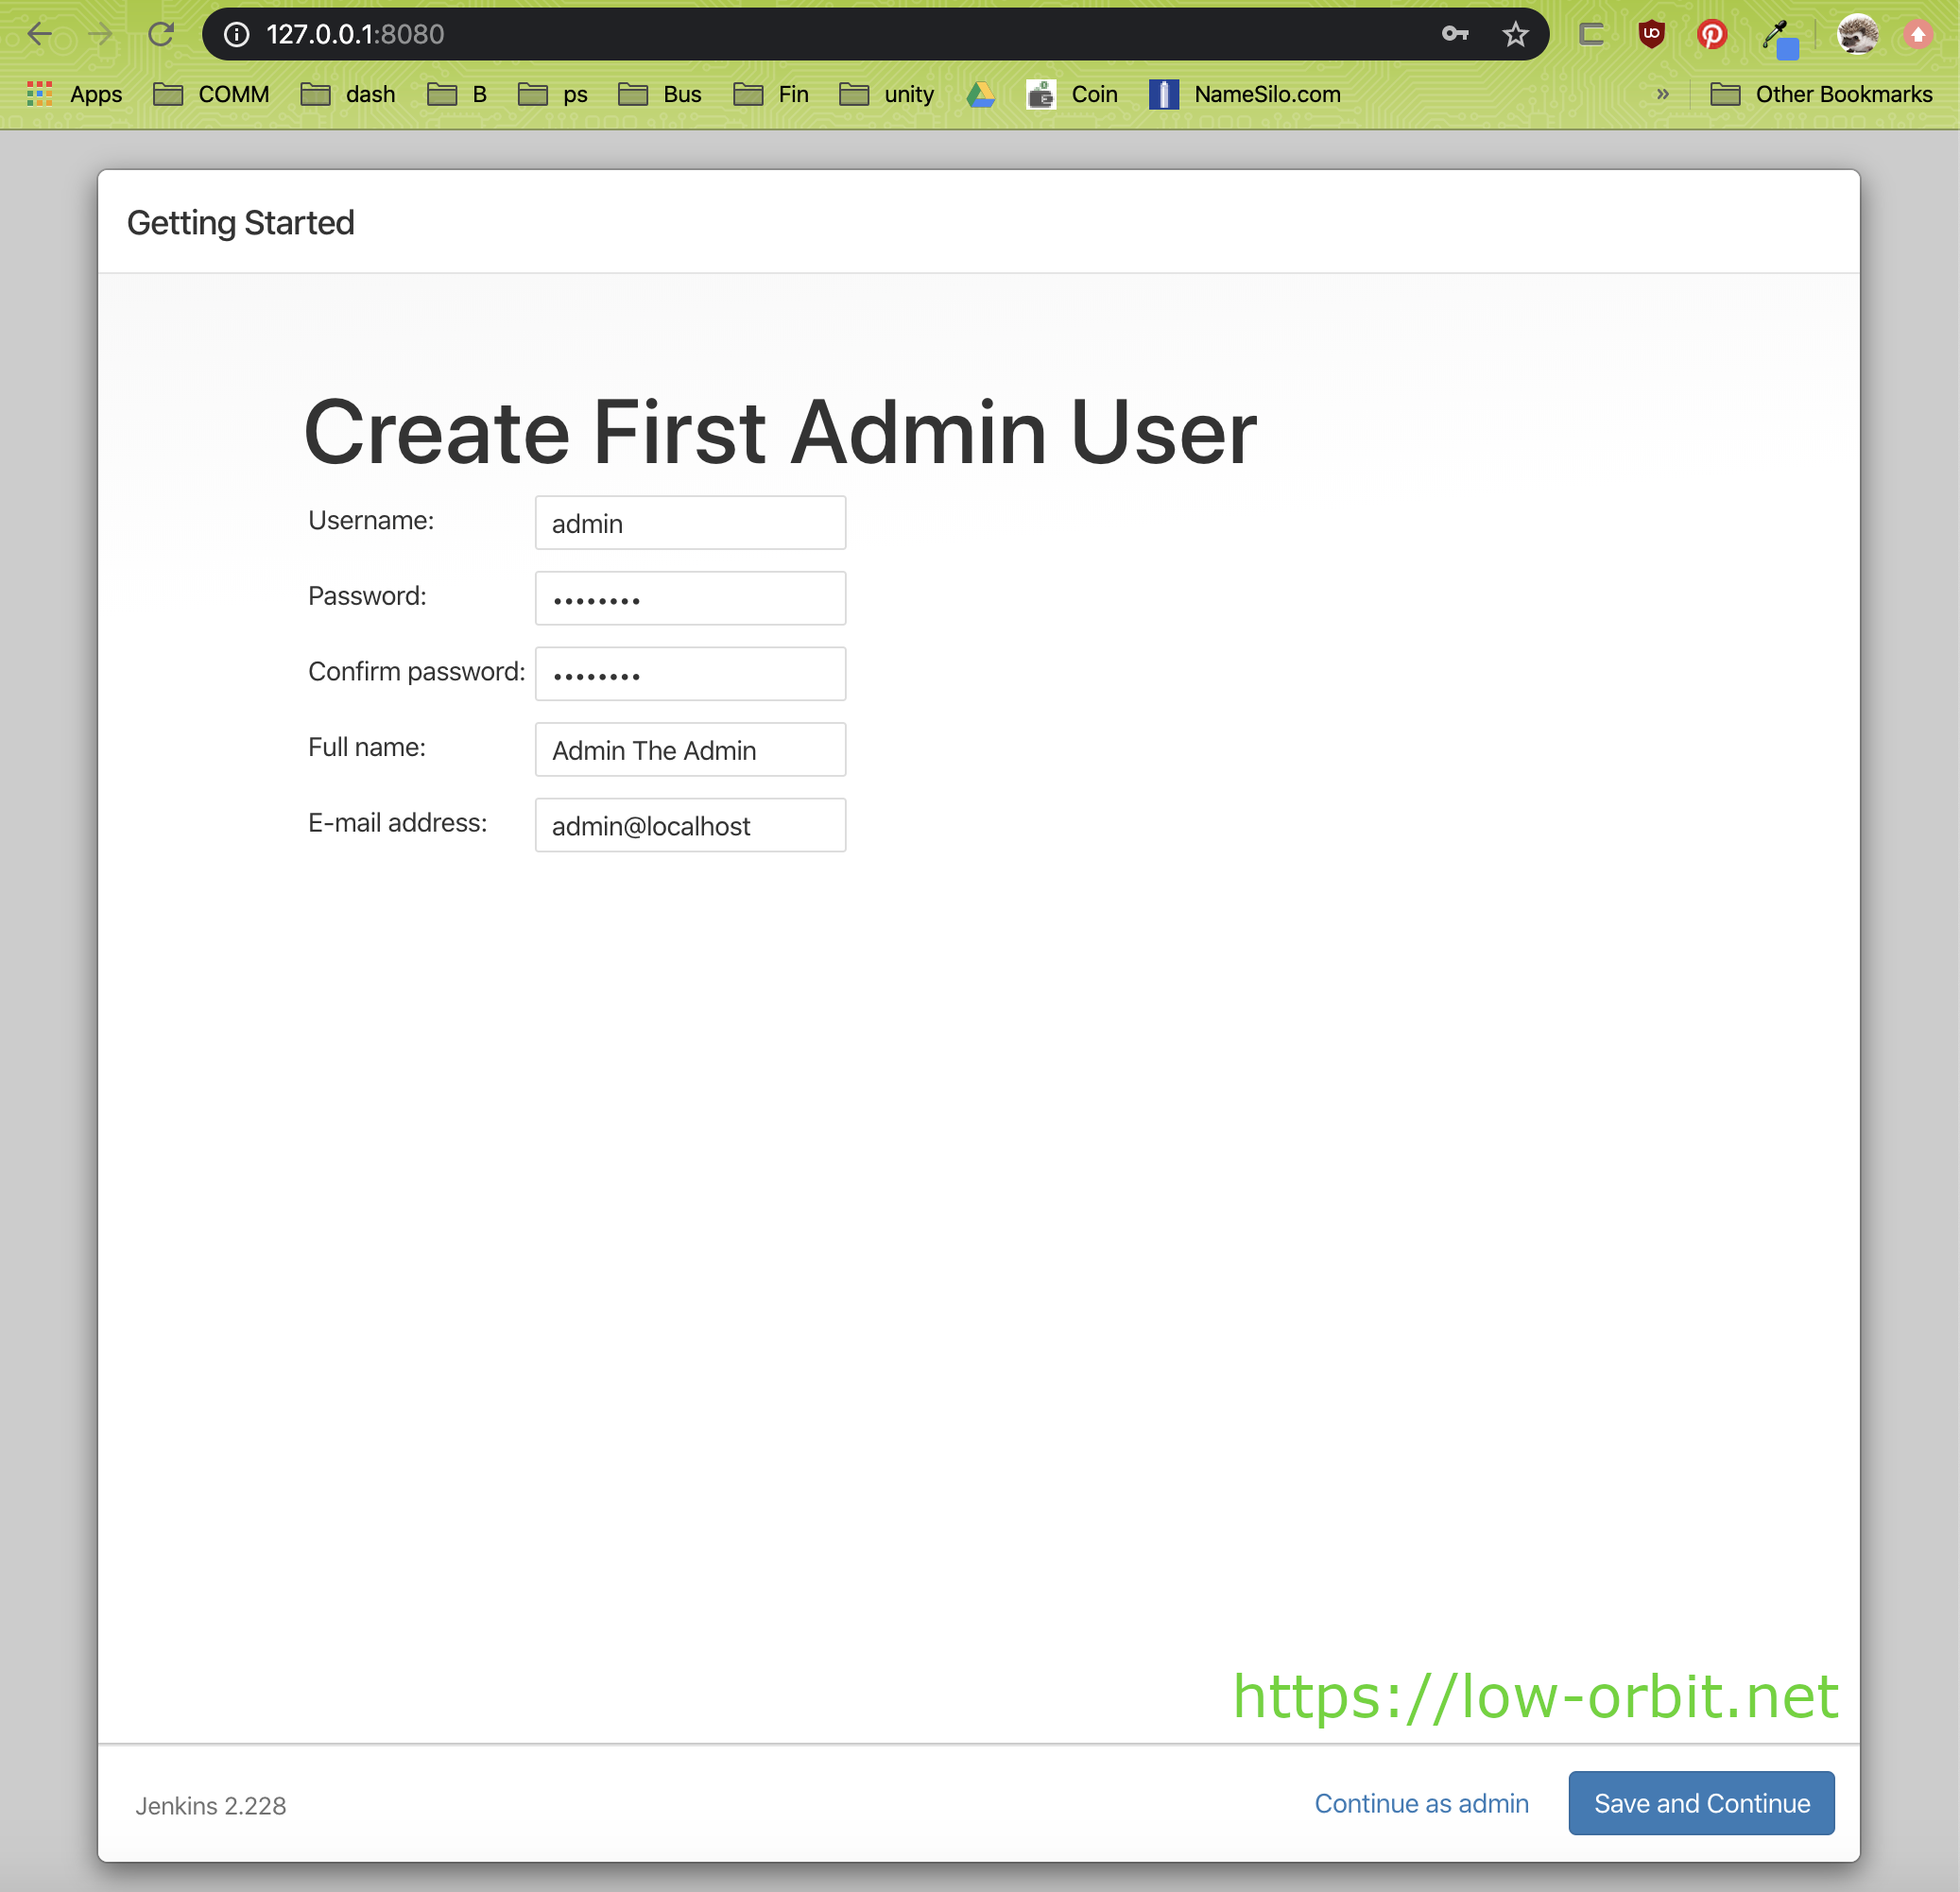
Create First Admin User
Next you will want to setup an admin user. I just used the name ‘admin’ because I wasn’t feeling creative and because I know I won’t forget it. You might want to pick something less standard for security purposes or just because you like using a different user name. You might want to avoid calling your admin user something like ‘admin’ or ‘root’. Pick a strong password.
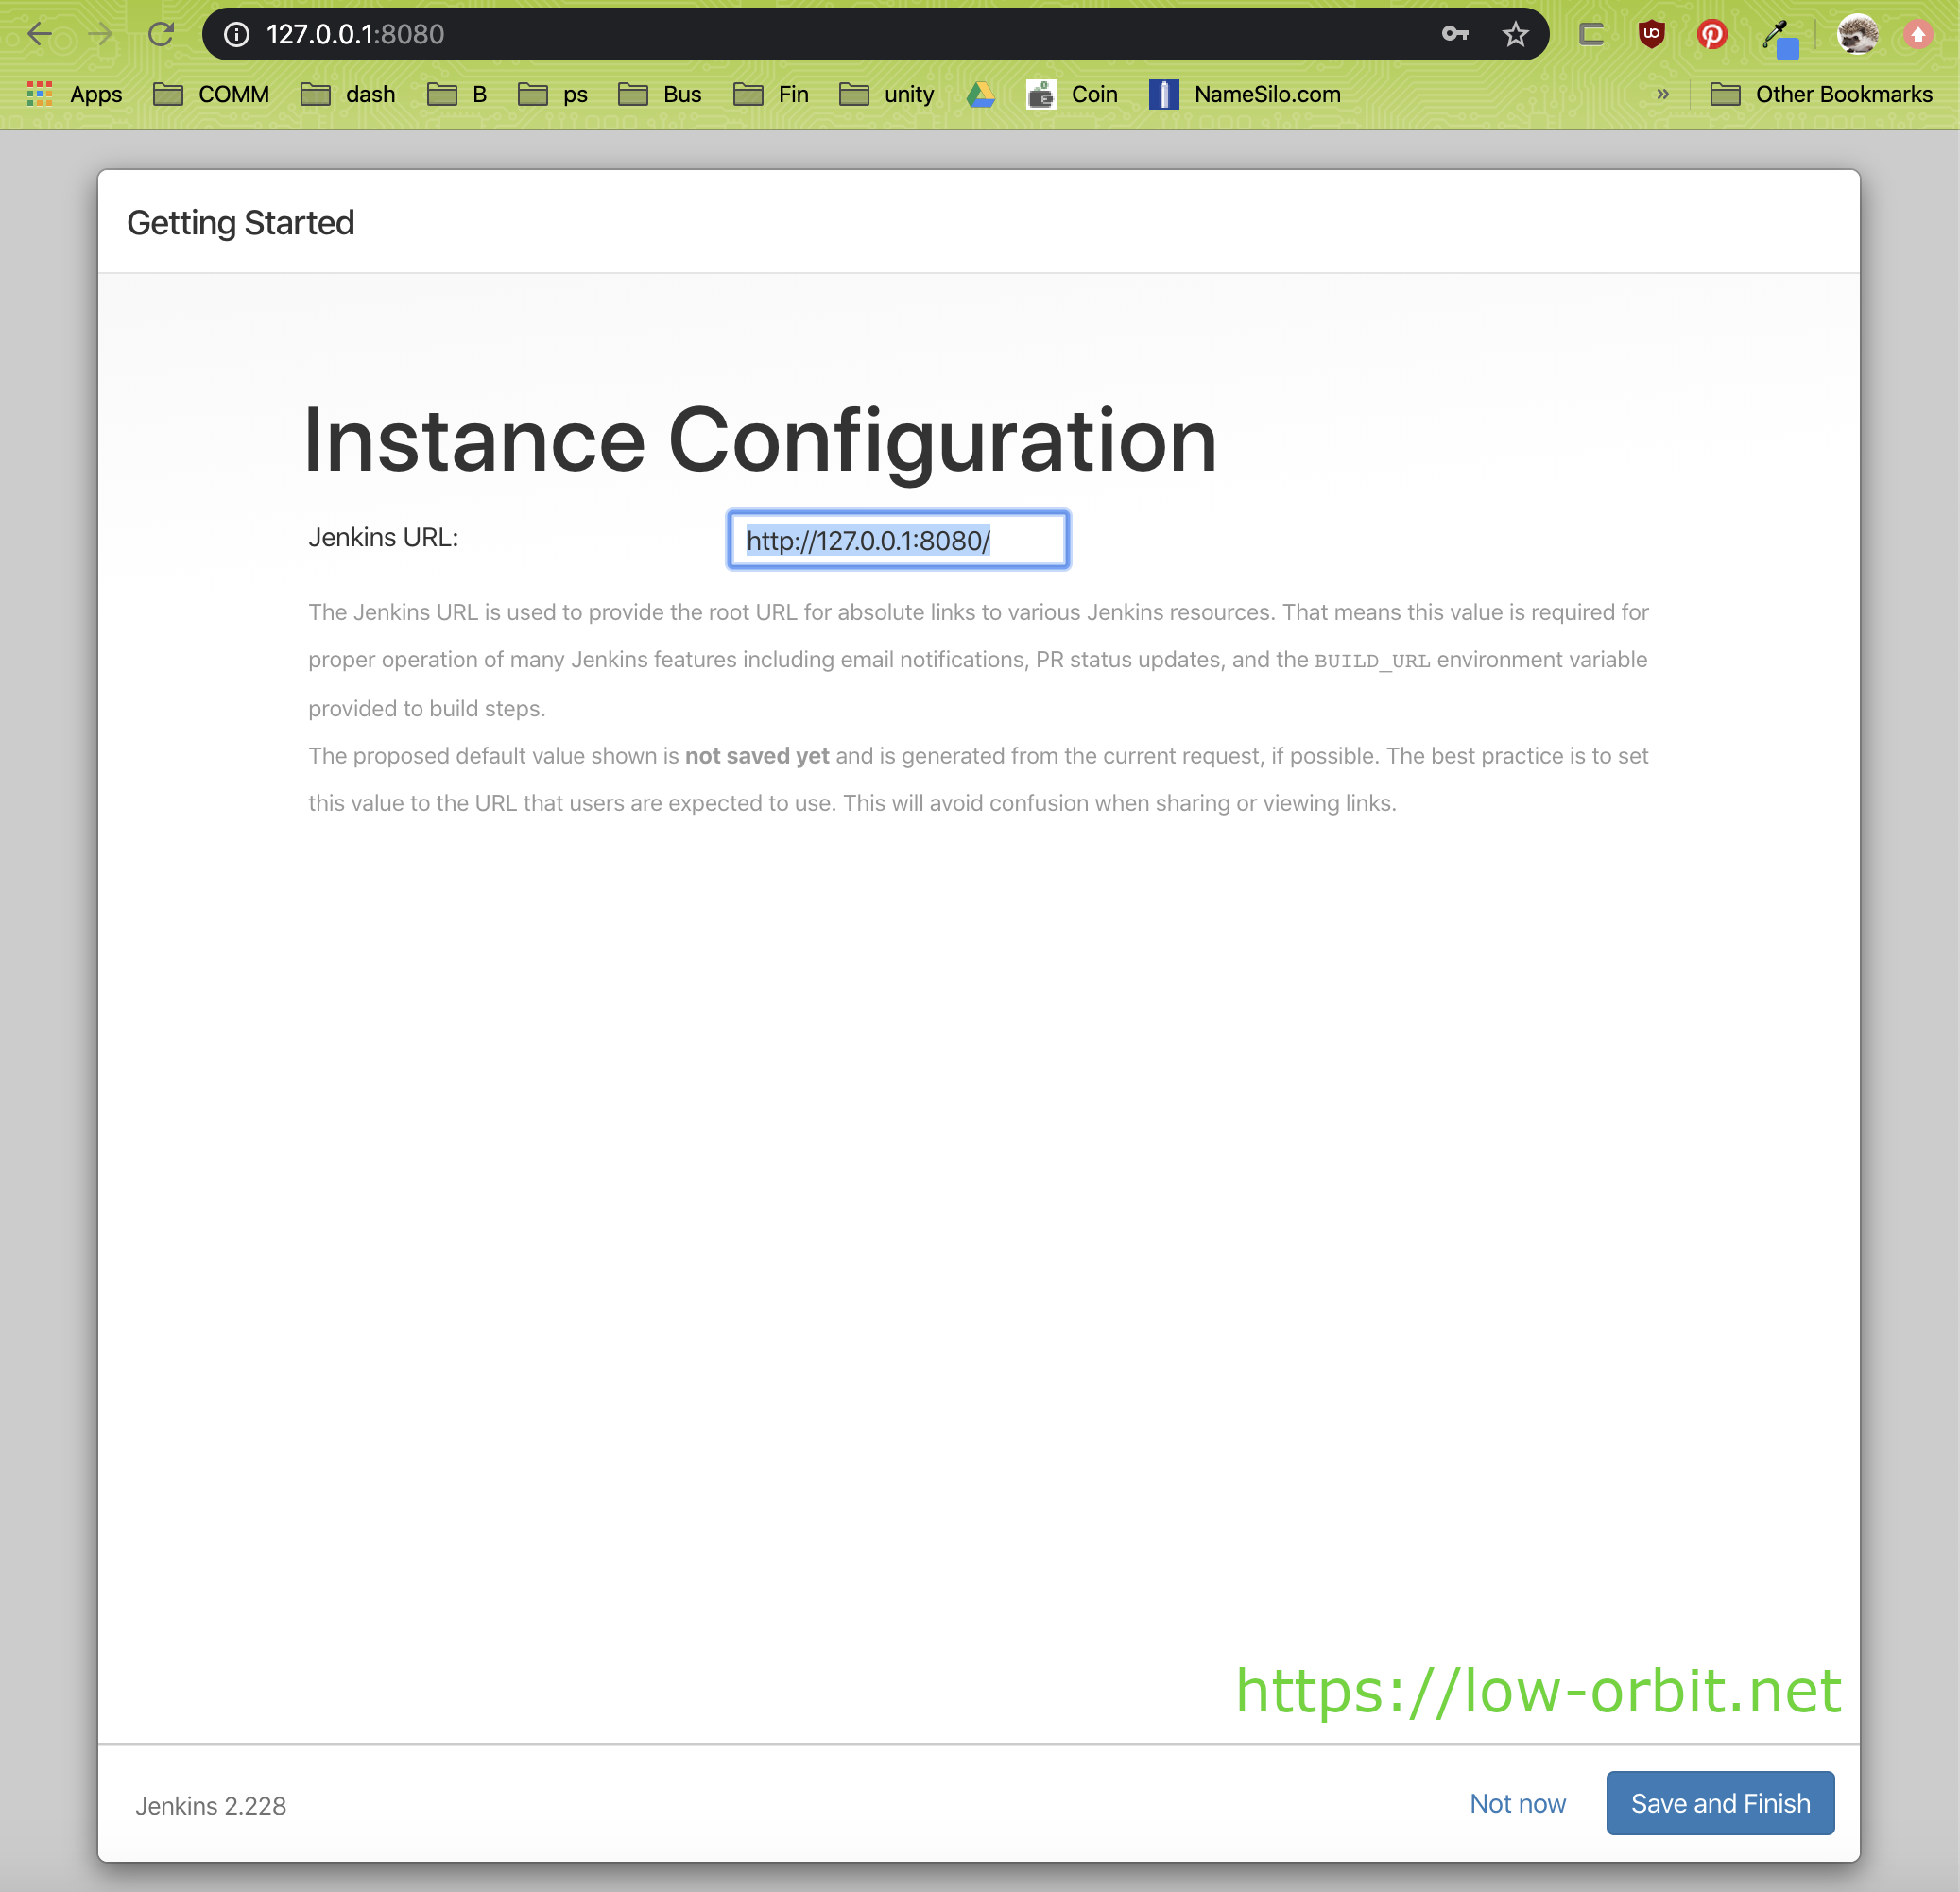
Instance Configuration
On this final configuration screen you will have the option to change the Jenkins URL if you want. If you have a good reason to do this, go right ahead. Personally I left the defaults in place for the time being. When running a more elaborate setup with multiple instances or when colocating with other software, it might be good to customize this.
All Set
Click on the button “Start using Jenkins”.
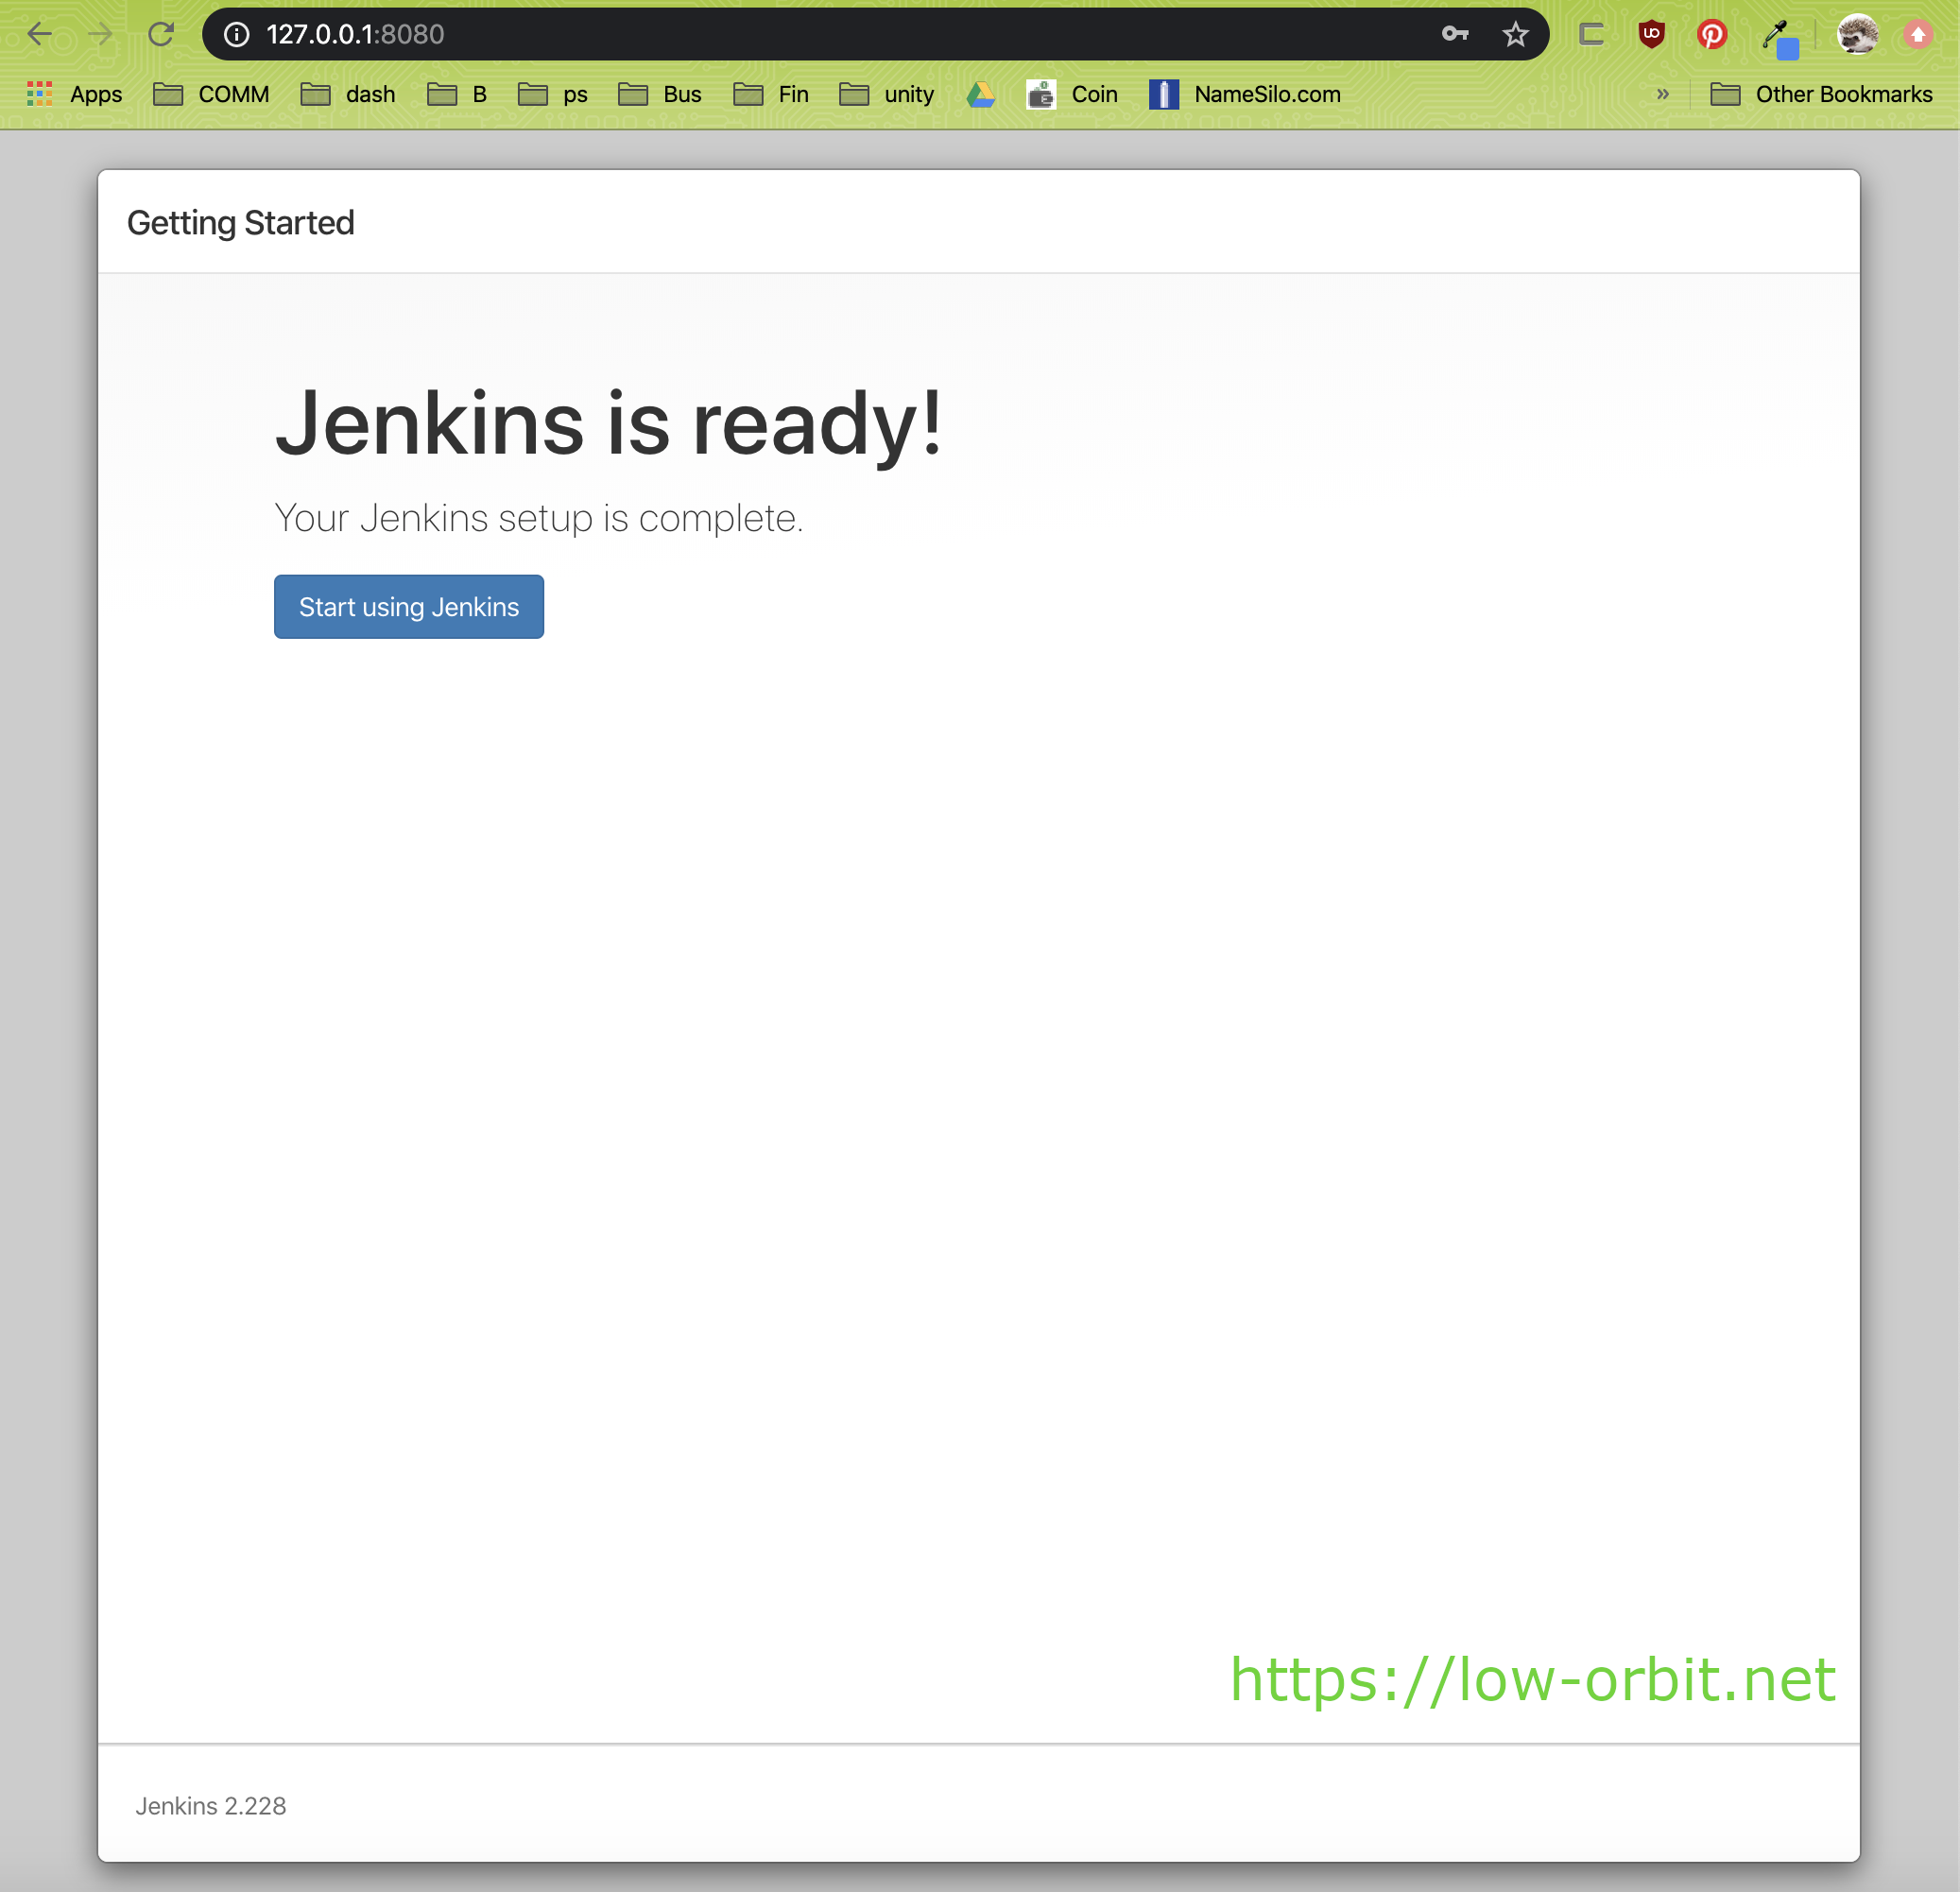
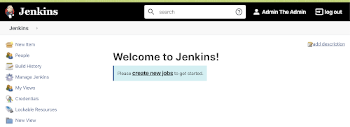
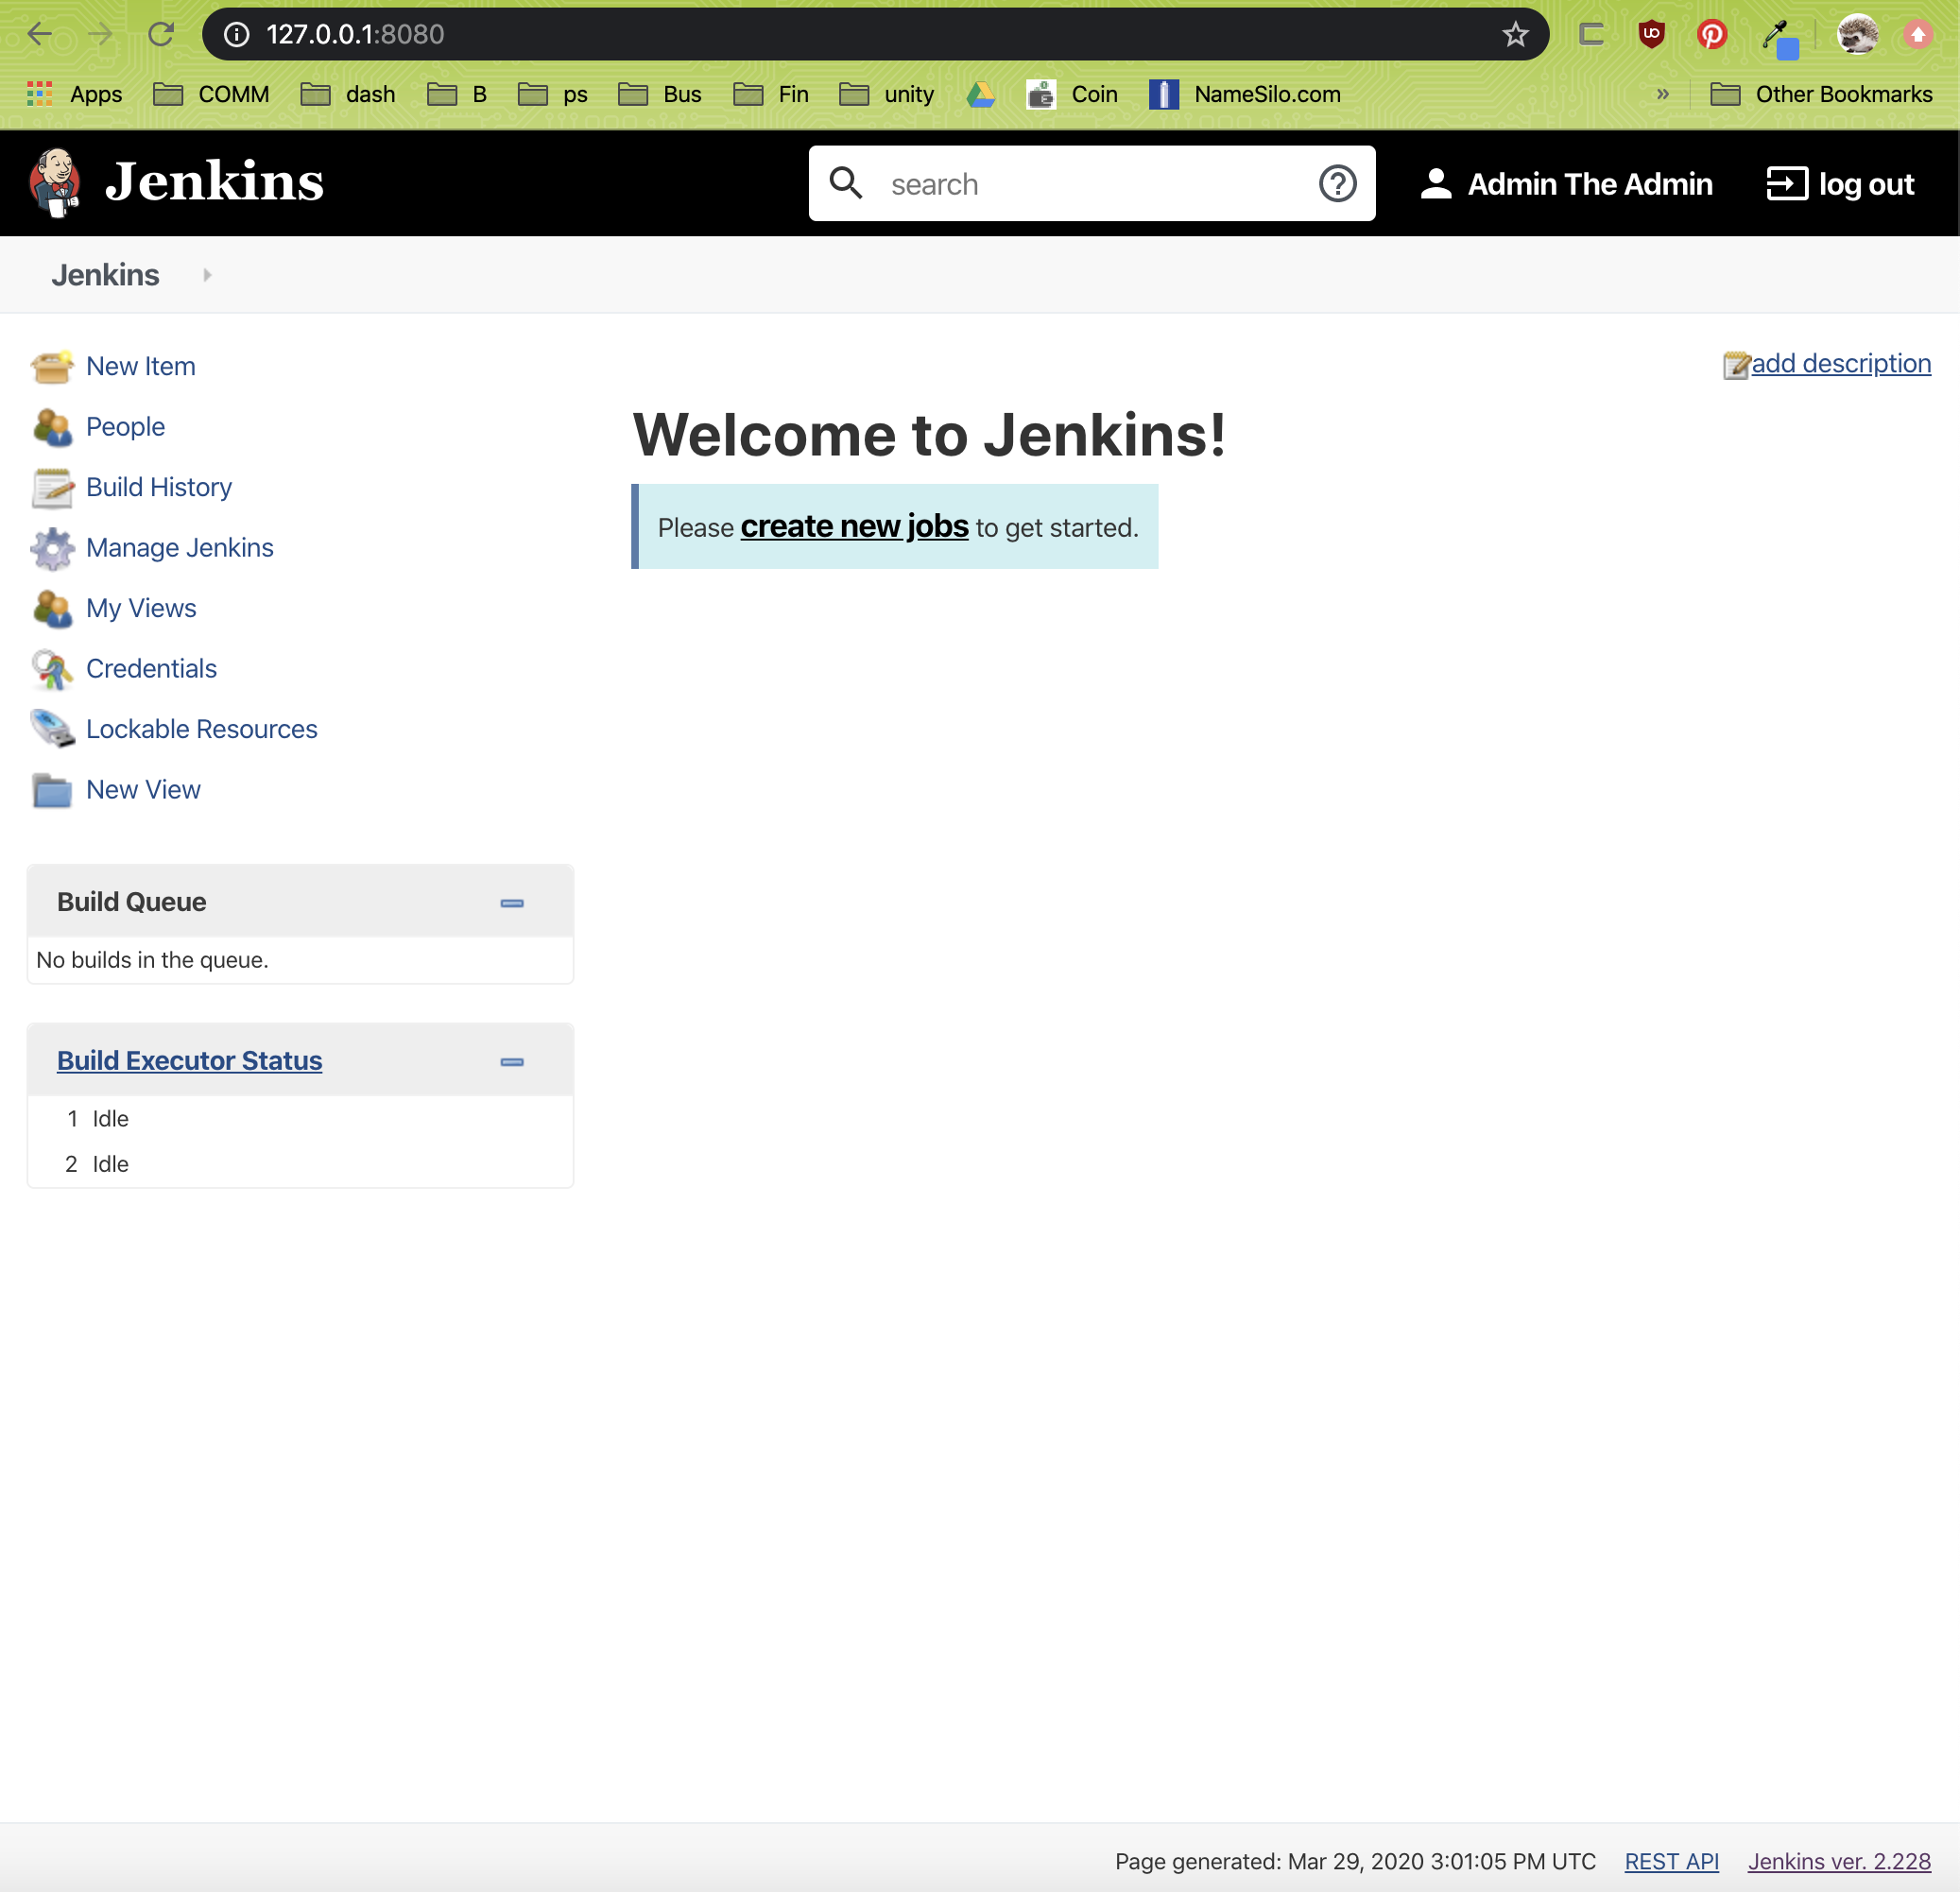
That’s it. You’re all set. You should now be logged into Jenkins on the welcome screen and ready to start creating jobs. From here you can do whatever you want. You can start poking around the interface and getting familiar with things or get down to work right away. You can further customize things or start creating jobs.
Next Steps:
First, we will want to get some test jobs working. Next, we are probably going to want to set Jenkins up to run as a service. You don’t want to just leave it running from a terminal…. or maybe you do if you are just running on your laptop for testing and don’t care. If you’re running this on a centralized server you will almost definitely want to run it as a service that runs in the background and starts automatically on boot.
Video Instruction
If you want more information, here is a video someone else put together: